RDP Audio or Microphone Not Working? Test Input and Output Separately
Hearing sound from an RDP session and sending microphone audio into it are two separate functions. A working speaker test does not prove that recording is enabled, and a microphone appearing in an application does not prove that the intended local device is capturing sound. Test each direction before changing the remote desktop.
This guide uses the built-in Windows Remote Desktop Connection client. The exact controls vary across client applications and managed services. Use a quiet test environment, a non-sensitive audio sample, and an approved application. Do not record a meeting or another person merely to troubleshoot a microphone.
Start with the devices on your own computer
Disconnect from the remote session and test the headset or speakers locally. Check the selected output device, volume, and any physical mute control. For a microphone, use the local operating system’s input meter or an approved recording test. Speak a harmless phrase and confirm that the intended device, rather than a laptop microphone across the room, receives it.
Write down the device names. A dock, Bluetooth reconnect, or newly attached headset can make the choices less obvious. Keep the hardware arrangement unchanged during the first remote test. If the device fails locally, repair that issue first rather than installing sound drivers inside the hosted desktop.
Choose where remote sound should play
Open Remote Desktop Connection, select Show Options, and go to Local Resources. Under Remote audio, open Settings. For an ordinary listening test, choose playback on your local computer. Save the intended profile and reconnect. Play a short approved audio sample inside the remote session, then check the local volume mixer and output device.
Microsoft’s audio-redirection guide distinguishes playback location from audio capture and explains the role of effective policy. Do not assume the remote computer has a physical speaker you can hear. Choosing playback at the wrong end can make a functioning audio path appear silent.
Enable microphone input only for an approved need
In the same Remote audio settings, review recording from the local computer. Enable it only when your work requires it and the administrator permits it. Reconnect, select the expected input in the remote application’s audio settings, and run a short non-sensitive test. Keep the physical mute switch available while checking which application has access.
If the remote application cannot see an input, compare the client setting with the administrator’s effective recording policy. If an input is present but silent, inspect the local microphone, mute state, and selected source before changing server configuration. An administrator restriction should be clarified, not bypassed by installing an unapproved audio-forwarding program.
| Symptom | First targeted check |
|---|---|
| No sound locally or remotely | Local device selection, volume, and hardware mute |
| Local sound works; remote playback is silent | Playback location, saved profile, and effective redirection policy |
| Playback works; microphone does not | Recording redirection and the application’s selected input |
| One application fails while a simple test works | That application’s device and permission settings |
| Sound breaks up only during a heavy workload | A controlled workload and network comparison |
Keep application-specific calling features separate
A conferencing application may use a specialized media path rather than ordinary desktop audio redirection. Microsoft notes this distinction for supported Teams and multimedia-redirection scenarios in its audio guide. Consequently, use a basic playback or recording test to establish the ordinary path, then test the actual calling application separately.
Do not assume a hosted desktop includes a particular calling optimization, browser extension, or application license. Check the exact application, client, and service combination. For browser-based audio, review the permissions for the specific trusted site; granting every website microphone access is not a troubleshooting strategy.
Avoid unnecessary USB and driver changes
Ordinary audio redirection is not the same as passing an entire USB device into the remote computer. Microsoft’s resource-redirection overview describes the different methods and their support constraints. Do not redirect every attached USB device to repair one microphone.
Before installing a driver or restarting an audio-related service, identify the failing layer and ask whether the change affects other users. Keep an approved recovery path and a record of the previous configuration. A clean local test followed by a failed remote test is more useful evidence than several untracked driver installations.
Test the workflow you plan to rely on
After the basic checks, run a short authorized trial in the intended application. Test listening, speaking, mute, reconnecting, and the device arrangement used for everyday work. Measure the result under a representative workload without transferring private recordings into the support ticket.
Send ClovRDP support the client and application versions, device names, local test results, direction that fails, and a redacted error. For general connection interruption, use the network-path checklist. Disable unnecessary microphone redirection after testing and retain only the access your normal workflow needs.
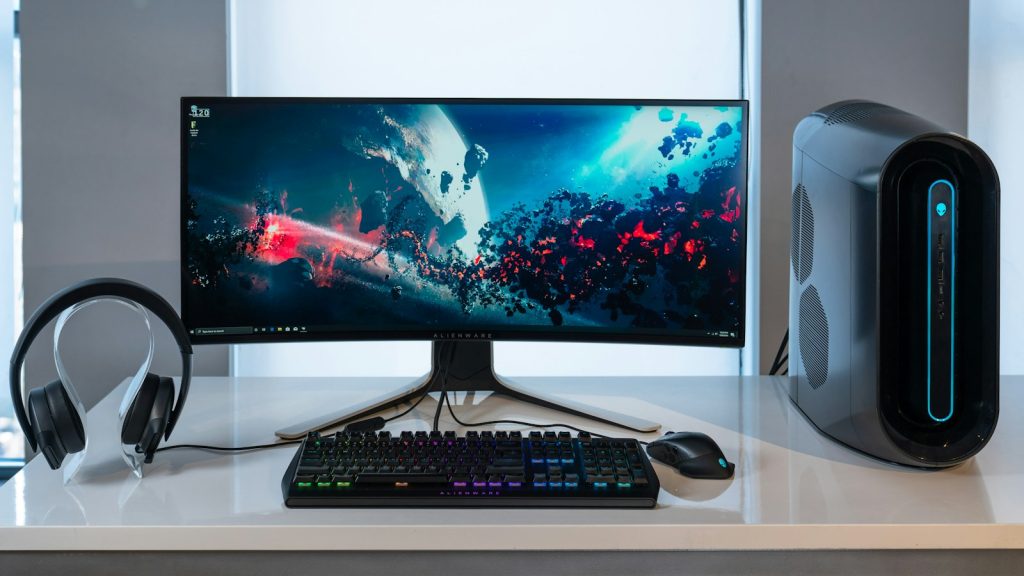
Featured photograph: Alienware on Unsplash. Technical references reviewed on 17 October 2026.